Estimated time of work: 10-15 minutes
Tools required: Torx T20 Screwdriver, trim removal tool (or something else to remove the plastic clips)
In order to replace your third stop brake light you need to remove the boot (trunk) liner.
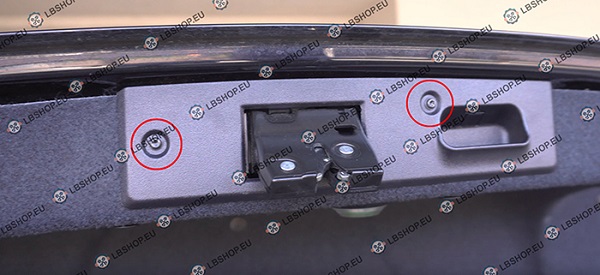
1. Using T20 screwdriver remove two screws.
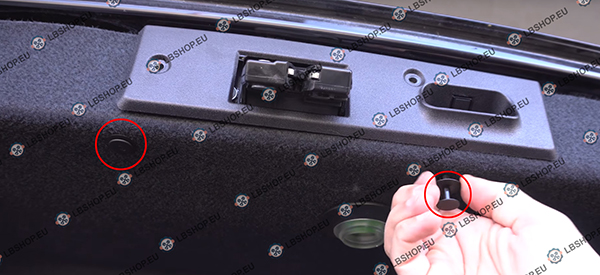
2. Remove all clips holding the trim of the boot lid. There are quite a few clips all around the liner.
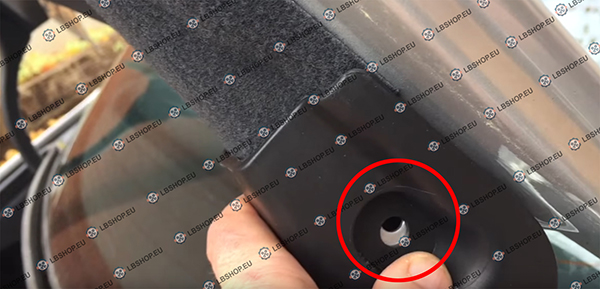
3. Remove the clips from the hinges.
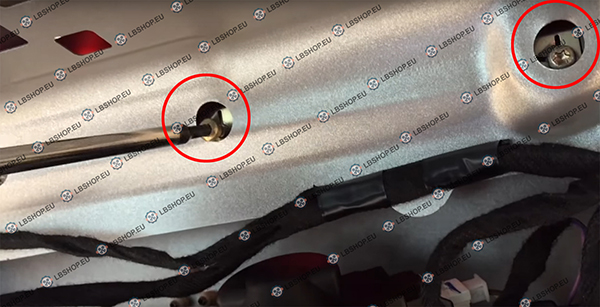
4. Once the clips and screws are removed, take out the liner. Take a look inside the boot. You will notice four Torx T20 screws holding the light. You need to unscrew them.
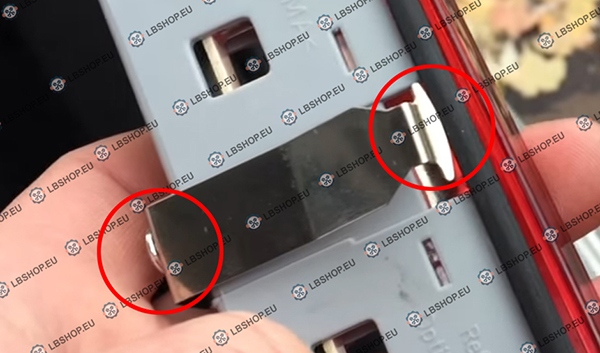
5. Now you need to push four metal clips that hold your old light and push the light out at the same time.
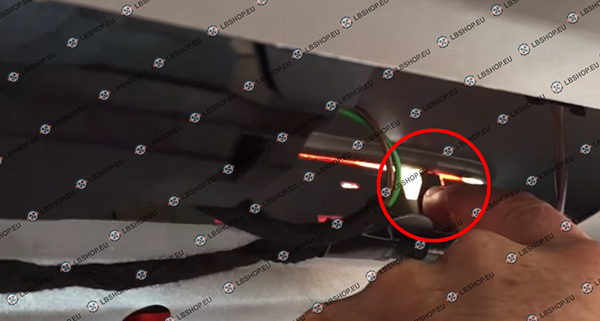
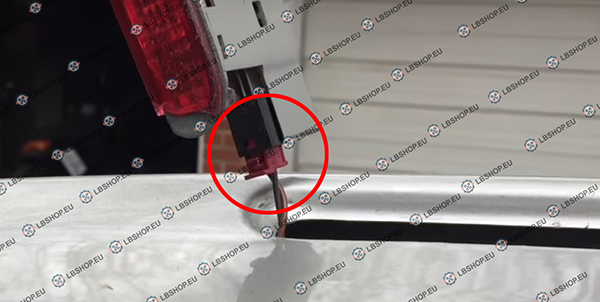
6. Once the light is taken out you can disconnect the plug.
7. Loosen the screws of metal clips on the back of your new light a little bit so the metal clip can hide under the rubber gasket.
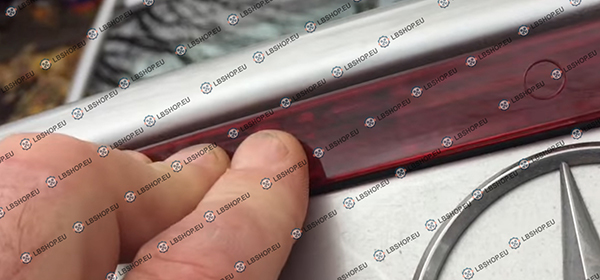
8. Connect the plug to the new light and insert it in the place of your old light. Push it a little, you should hear a click sound.
9. Now you have to tighten the metal clips screws and perform steps 1-3 in reverse order.